QuickBooks can be easily integrated with HReasily through the following steps:
2. Pay Item Configuration
3. Sending Reports to QuickBooks
Step 1: Connecting to QuickBooks
Before we get started with configuring the integrations, we have to first connect HReasily to QuickBooks.
1. Navigate to Partner Integration in the left sidebar.

2. Select Integrate under the QuickBooks logo.

3. Click on Connect to QuickBooks.

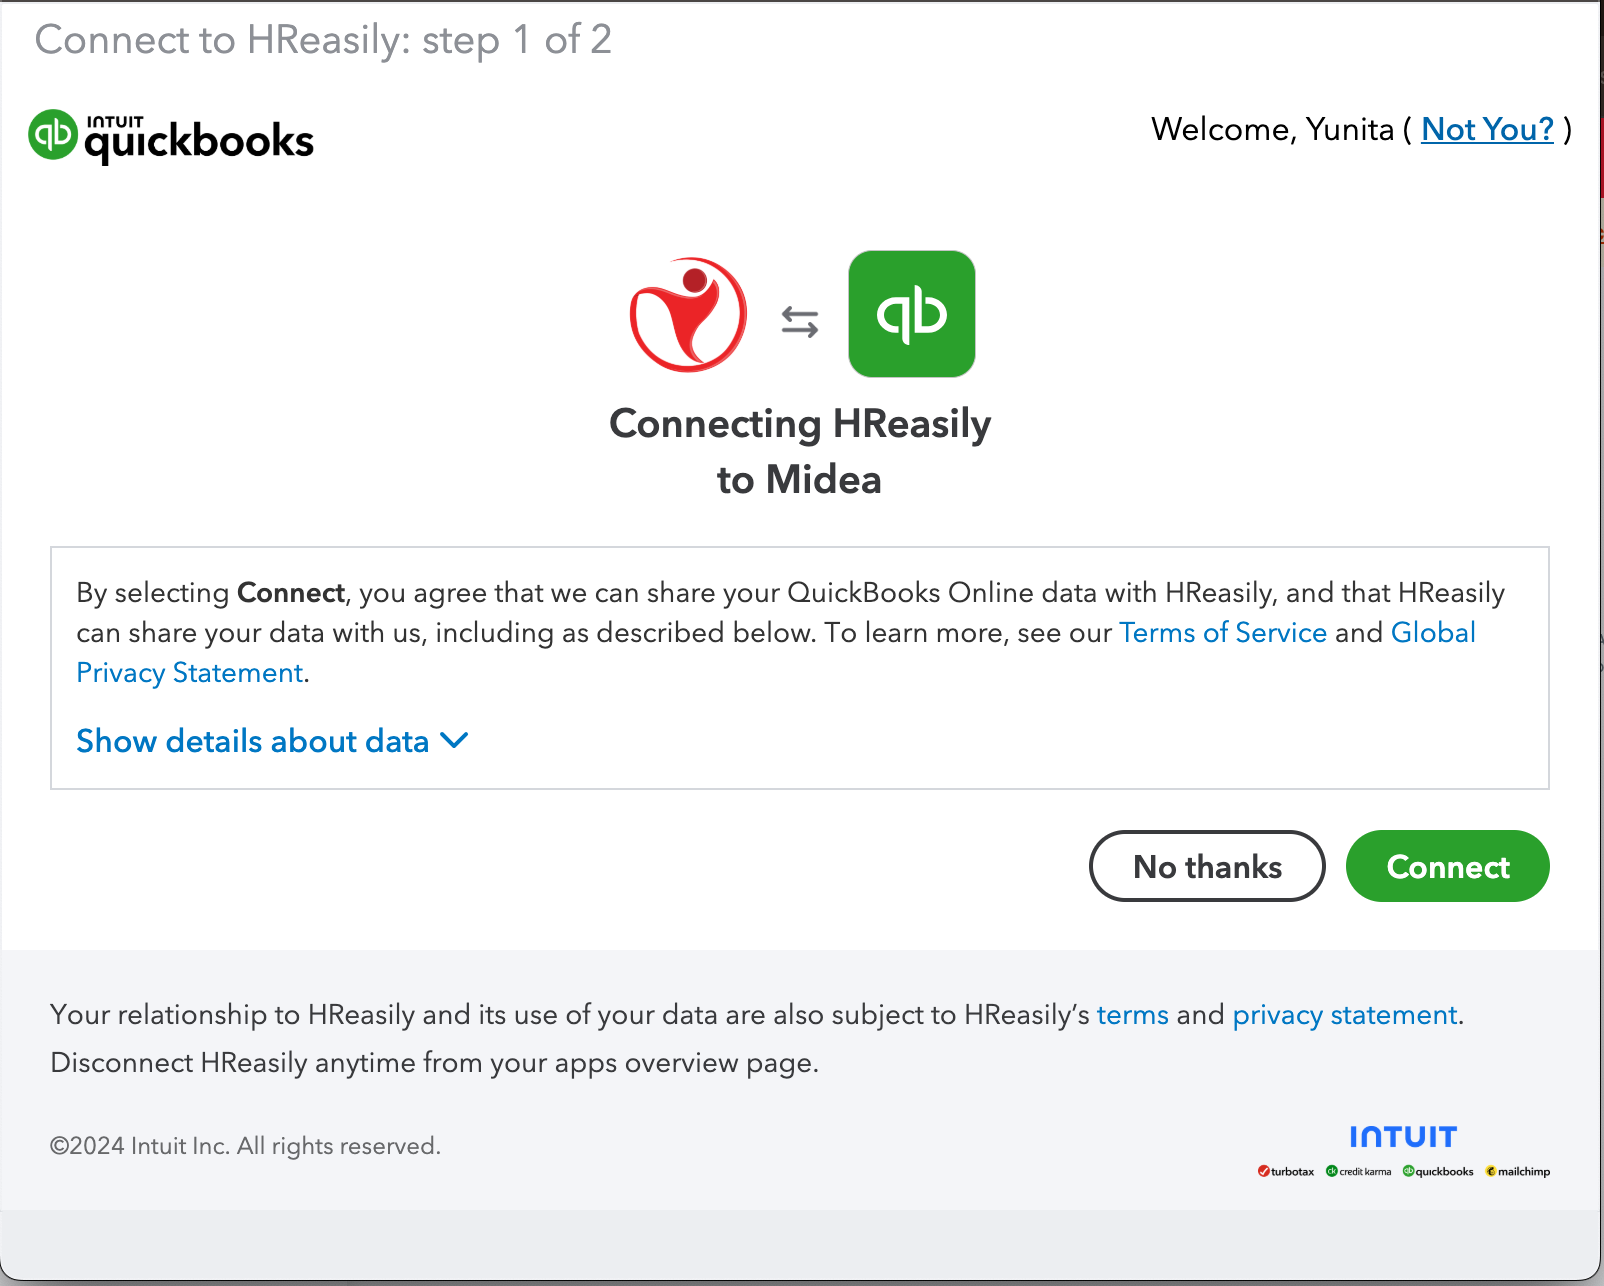
4. Verify your QuickBooks account and click Connect to proceed with the integration. This step ensures secure linkage between HReasily and your QuickBooks account.
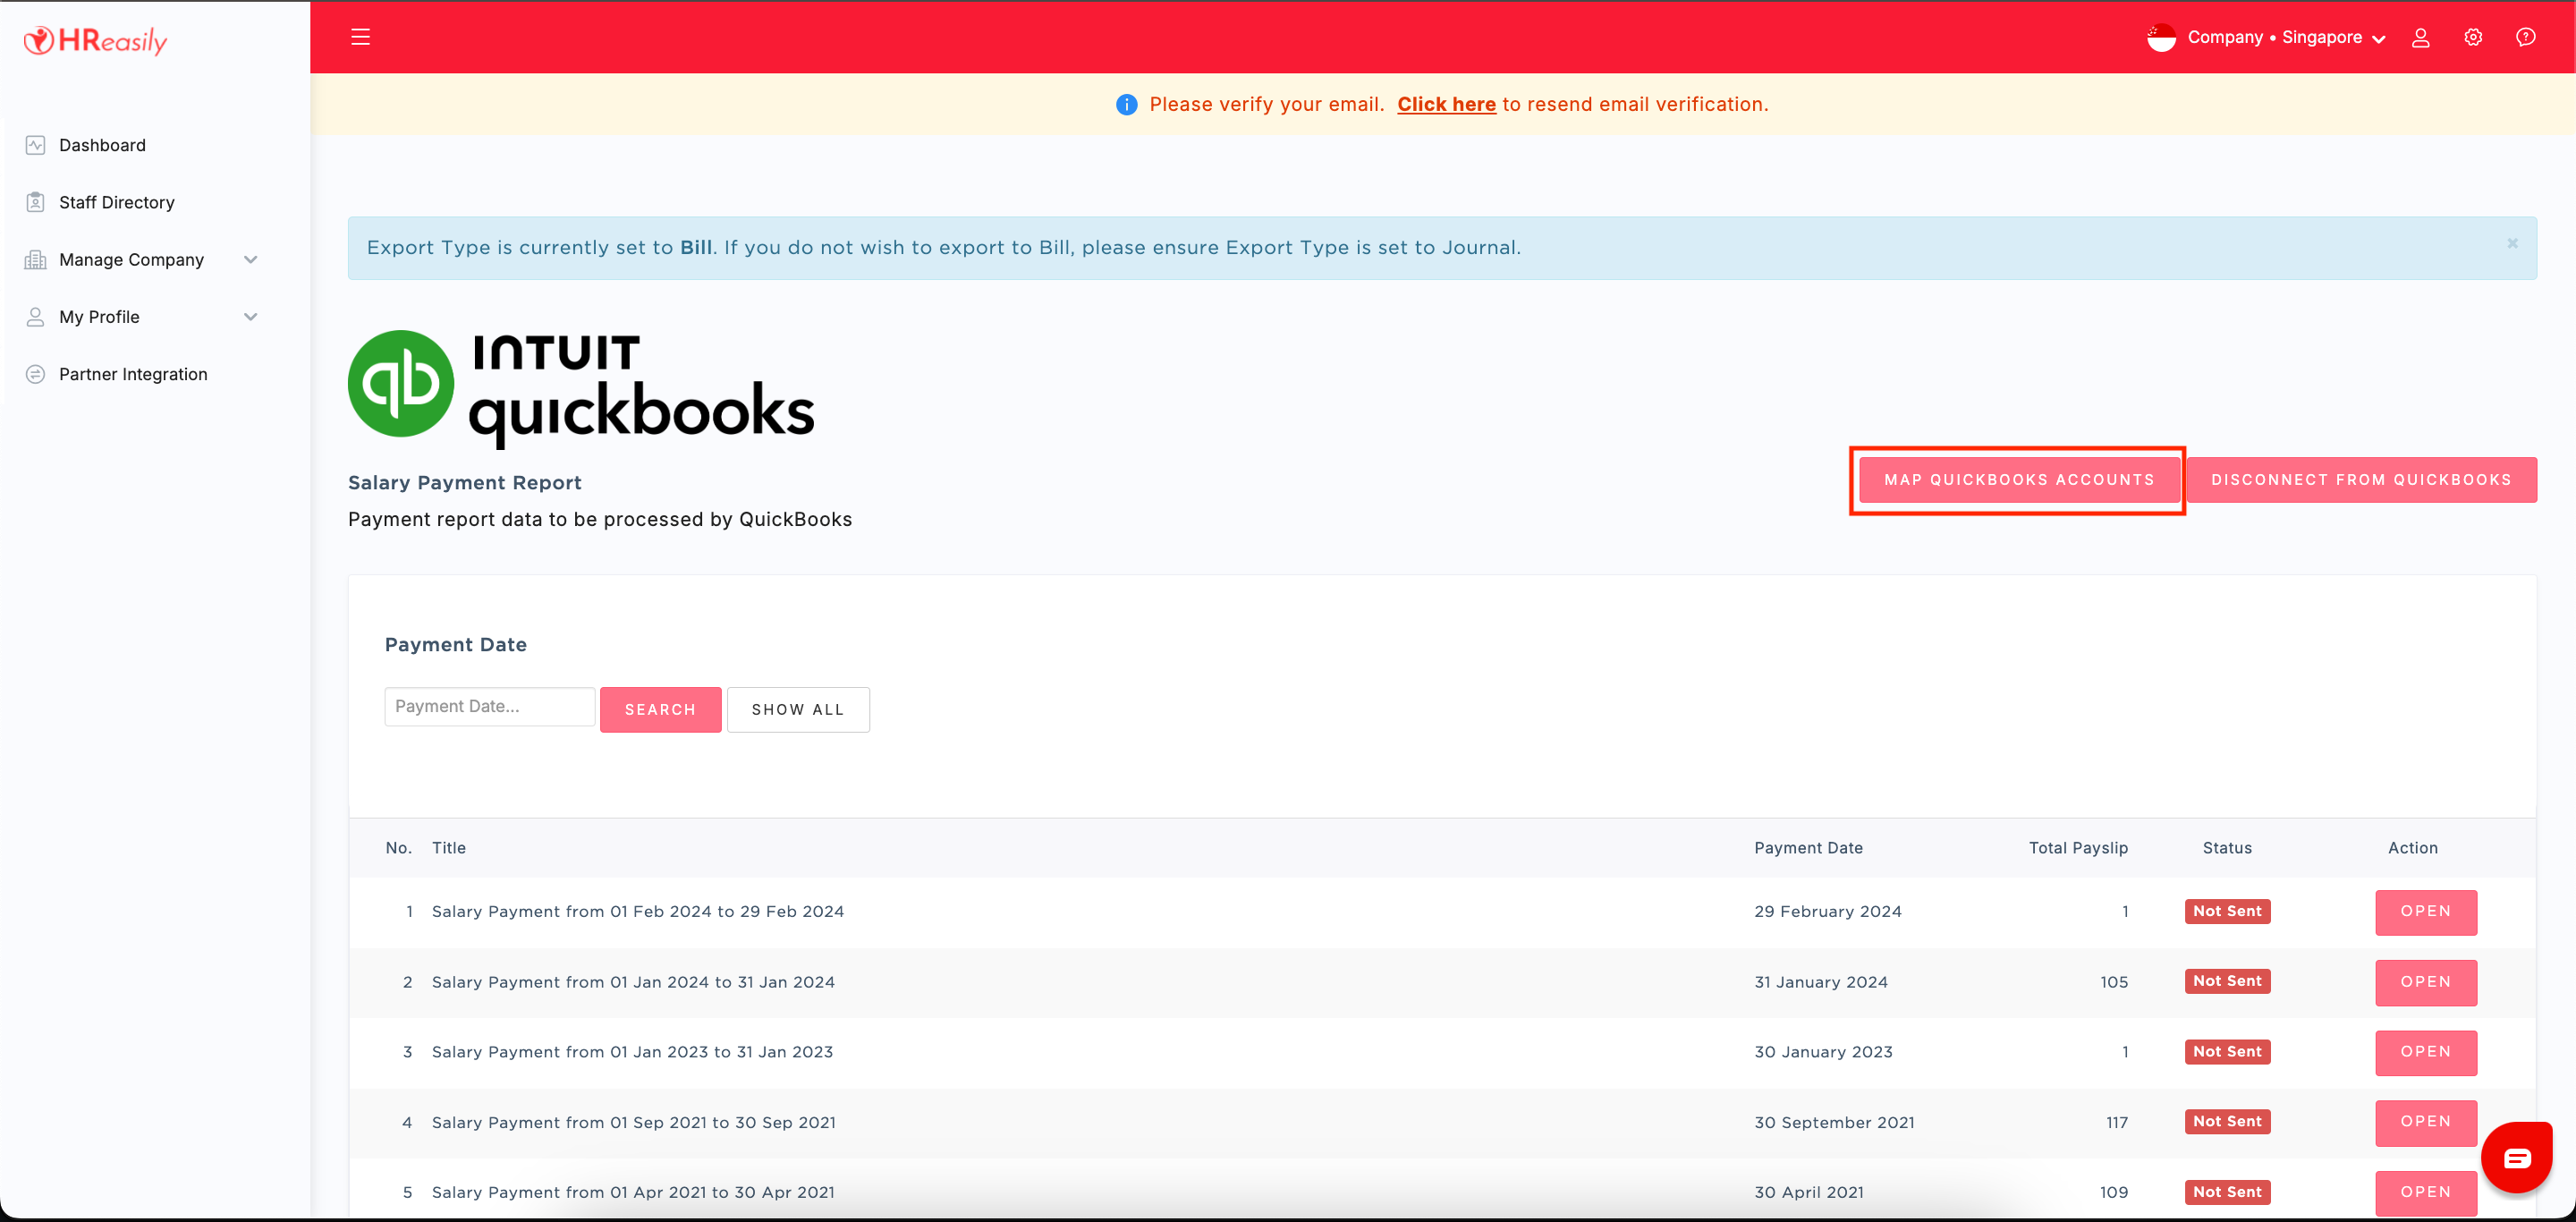
5. After authorization, you will be directed to the Salary Payment Report page within the HReasily interface.

Step 2: Pay Item Configuration
You will need to configure the QuickBooks Expense Accounts for all the mapping items that you want to sync to QuickBooks.
1. On the Salary Payment Report page, click on Map QuickBooks Accounts.
2. Select the Export Type option to specify whether you prefer the information to be transferred to QuickBooks as a Bill or a Journal entry.

3. Then, choose the QuickBooks Chart of Accounts where you want to allocate the net pay, employee contributions, etc.

If the export type is Bill, you can break down the "Total Net Pay" into Basic Salary and Pay Items by selecting the "Include pay items" option.

4. Once completed, click SAVE.
*Things to note:
Pay items that are bourn by employees such as: employee CPF, CDAC, SINDA, ECF, MBMF should be mapped to a payables account under current liabilities.
Please be sure you've created your chart of accounts in QuickBooks, then set up all the code for those CoA in QuickBooks before mapping to HReasily system.
If you choose to send over the data to QuickBooks, it will be sent as Draft and you'll need to pay off the bill ("supplier") when you disburse the salaries to the employees.
Step 3: Sending Reports to QuickBooks
After completing the mapping of QuickBooks Chart of Accounts in HReasily, here's how to start sending salary payment reports to QuickBooks:
Sending Reports as Bill
1. On the Salary Payment Report interface, click OPEN next to the payroll entry.

2. After sending over the reports, you will see the screen below.

3. Click View in QuickBooks to review the details.

4.You will then be directed to the following page in QuickBooks. Click SAVE to proceed.

*Things to note:
If you choose to map HReasily to QuickBooks, you'll see the result under Expenses > Suppliers, you'll need to pay off the bill ("supplier") when you disburse the salaries to the employees.
Sending Reports as Journal
1. On the Salary Payment Report interface, click OPEN next to the payroll entry.

2. After sending the report, you will see the screen below.

3. Click View in QuickBooks to review the details.

4.You will then be directed to the following page in QuickBooks. Click SAVE to proceed.


Was this article helpful?
That’s Great!
Thank you for your feedback
Sorry! We couldn't be helpful
Thank you for your feedback
Feedback sent
We appreciate your effort and will try to fix the article