This guide walks you through the complete year-end tax filing process in HReasily, from setup to submission to IRAS.
You'll learn how to:
1. Preparing Year-End Tax Filing
4. Submitting IR8A, A8A, and A8B to IRAS (via API)
Key Changes for Year of Assessment 2026 (YA2026)
For Year of Assessment 2026 (YA2026), IRAS has introduced several changes that affect year-end tax filing:
1. Retirement of 3 IR8A Codes
The following IR8A codes are no longer applicable from YA2026 onwards:
- D - Pension
- D - Retirement Benefits accrued up to 31 December 1992
- D - Employer Overseas Pension / Provident Fund with Tax
If your payroll contains pay items mapped to these codes, they will automatically be excluded from YA2026 filings.
What you should do:
- Review your pay item mappings before generating files
- Consult your tax officer or IRAS if you are unsure whether re-mapping is required
2. Removal of IR8S
IR8S is no longer required and has been fully redacted for YA2026. You will only generate and submit:
IR8A
Appendix 8A (if applicable)
Appendix 8B (if applicable)
Preparing Year-End Tax Filing
1. Go to Manage Company found on the left sidebar.

2. Navigate to Payroll Info tab.

3. Scroll down to the Year End Tax section, expand it and click the Create button.

4. Select the Year of Assessment and choose Original as the File Type.

⚠️ If updating a previously submitted file, select instead:
Revision: Replaces the earlier submission entirely.
Amendment: Applies adjustments on top of the original submission.
5. Once created, Click Actions > Manage to proceed.

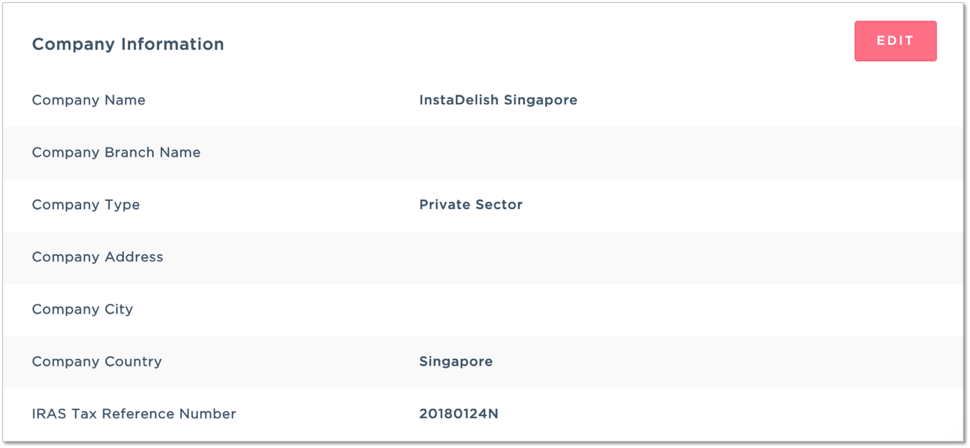
6. Under the Setup tab, review your company details.

7. Click Edit if any information needs updating.
8. Next, go to Setup > Employee.

9. Select the employees you are preparing tax filings for and click Save.

Optional selections:
✅ Generate A8A: For employees with benefits-in-kind
✅ Generate A8B: For employees with ESOP / ESOW gains
Appendix overview:
A8A: Benefits-in-kind (e.g. accommodation, car, hotel stay)
A8B: Employee share option or share ownership gains
10. Lastly, go to Setup > Pay Items. Ensure all pay items are mapped to the correct IR8A codes.
11. For A8A generation, map relevant pay items to D8 – Value of benefits in kind. Select the most appropriate A8A code based on the benefit type (e.g. hotel, accommodation).

12. Once the setup is completed, you can proceed to generate the IR8A, A8A, and A8B files.
Generating IR8A File
1. To generate your IR8A file, head over to the IR8A tab.

2. Click the GENERATE IR8A FILES button.

⏱️ File generation may take 1–5 minutes, depending on the number of employees.
3. After generation, the employee IR8A PDF file and TXT (AIS) file will be available for download.

Generating A8A & A8B Files
Appendix 8A (A8A)
1. Go to the A8A tab.
Note: IR8A must be generated before A8A.

2. Download the employee A8A PDF and TXT (AIS) files once generated.

Note: Files are generated only for employees selected under Setup > Employee.
3. If a benefit was not included in payroll, scroll down to manually enter the amount under Appendix 8A data input.
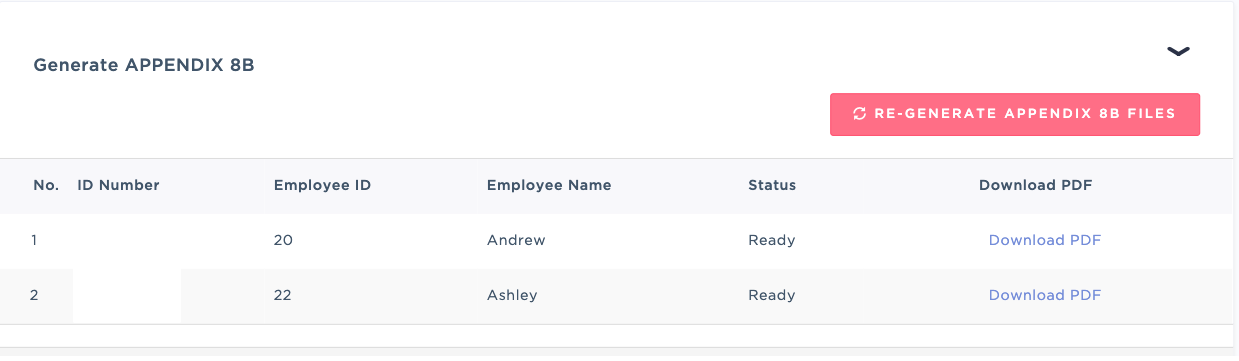
 Appendix 8B (A8B)
4. Go to the A8B tab.

5. The system will automatically generate the Appendix 8B file.
Important notes:
A8A is generated when pay items are mapped to D8 – Value of benefits-in-kind
Employers must complete A8A for employees who received benefits-in-kind
If you cannot see the A8A or A8B tabs, please contact the HReasily Support Team
Submitting IR8A, A8A, and A8B to IRAS (via API)
1. Go to the Summary tab.

2. Scroll down and click Validate & Submit to IRAS.

3. If you're not submitting as a third-party agent, ensure to select NO. 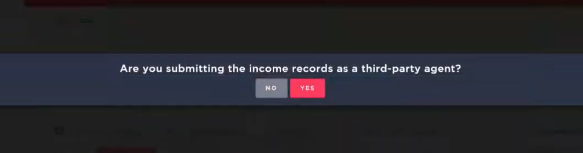
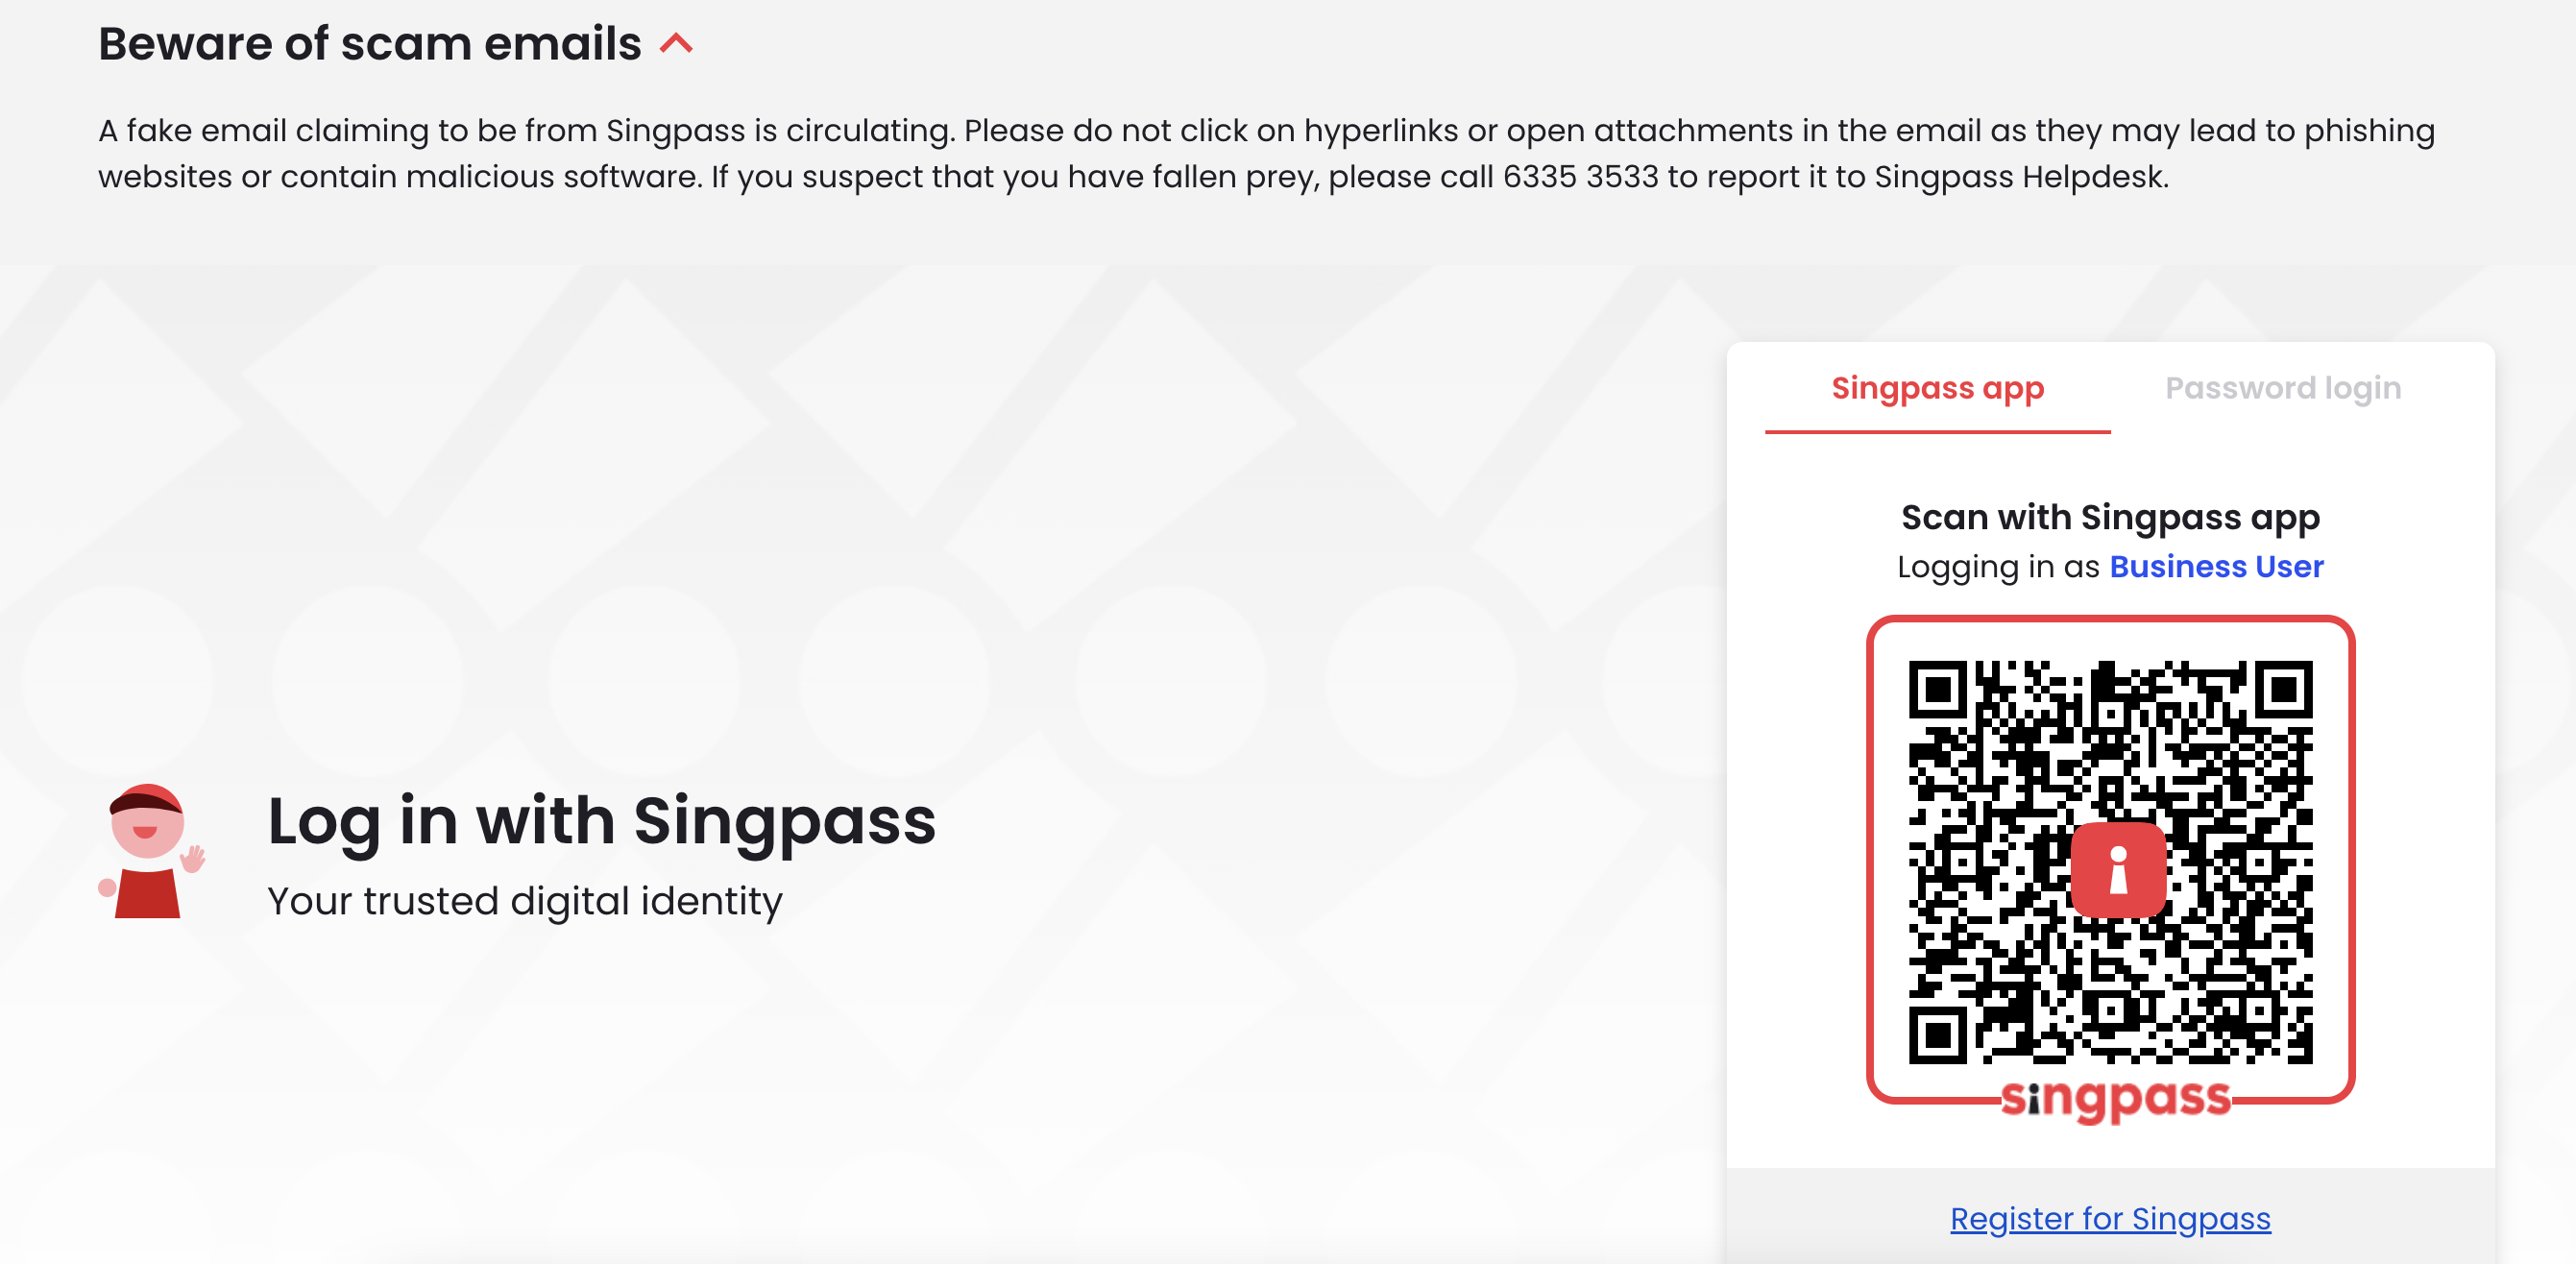
4. Log in using Singpass.
⚠️ Ensure you have been assigned the Approver role in IRAS e-Services.
Only users with the Approver role can submit filings to IRAS.
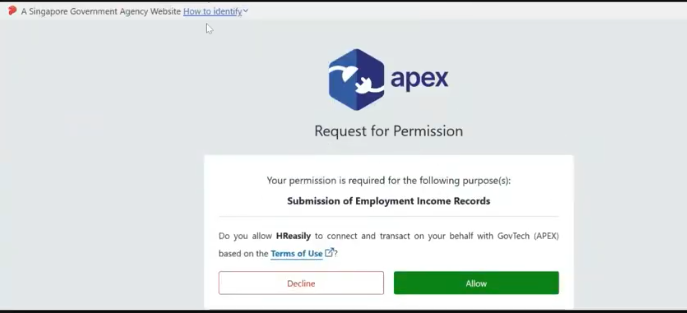
5. In the Request for Permission Page, click Allow.
Note: CorpPass authorization is valid for 30 minutes.
6. After authentication, you will be redirected back to HReasily. Click Validate & Submit to IRAS again to proceed.

7. Review the submission confirmation pop-up. 
8. The system will validate the files and highlight any errors, if applicable.
9. A final confirmation will be required before the submission of income records to IRAS.
⚠️ This action cannot be reversed.
10. Upon successful submission, you will receive a confirmation email from IRAS.

Was this article helpful?
That’s Great!
Thank you for your feedback
Sorry! We couldn't be helpful
Thank you for your feedback
Feedback sent
We appreciate your effort and will try to fix the article