 Welcome aboard to HReasily! The next 30 days will be exciting times for your business as we work toward automating tedious HR, Payroll and even Accounting chores.
We've prepared a comprehensive guide to get you up and running in no time. Without any further ado, let's get started.

Finding your way around a new software can sometimes be quite a challenge. Let's start off by familiarising ourselves with some key terms and functions.
Homepage / Dashboard
The homepage, sometimes referred to as your dashboard is the landing page you'll find yourself at upon login.

Time In/Out
Time in/out is a great way to capture your attendance data. No longer you need to go to Time Attendance menu to capture your attendance.
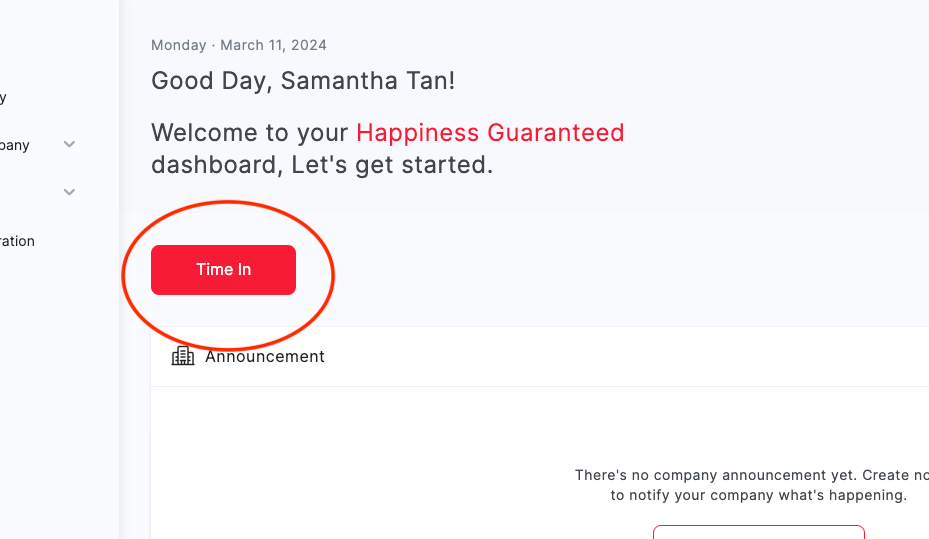
Announcement
The announcement is a great way to notify employees on what's happening with the company while ensuring that they never miss important updates ever again.
By default, the announcement will be expired in 30 days after the published date. Depending on the setup, you'll be able to notify employees by email or notify them via web-browser only.

Monthly/Fortnightly Payroll and Ad-Hoc Payroll
Right beneath the Time In/Out, you'll find the option to run your monthly/fortnightly payroll or ad-hoc payroll.
Just login, and get right into running your upcoming payroll directly from your dashboard.

Calendar
The calendar is a great way to gain a quick overview on what needs to be processed in the coming days while ensuring that you never miss celebrating your employees ever again. The calendar can be filtered based on the available selection.
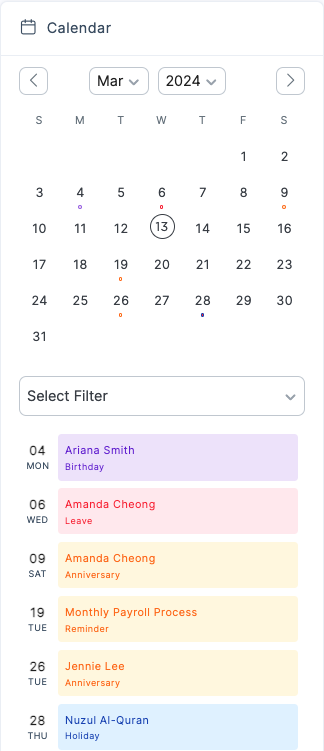
Depending on your permission level, in the calendar, you'll be able to see the following:
Upcoming Holidays [Federal & Custom Holidays]
Upcoming Employees Birthdays
Employee's Work Anniversary
Payroll & Statutory Submission Processing Reminders
Expiration of Employee Work Permits
Approved Annual Leaves
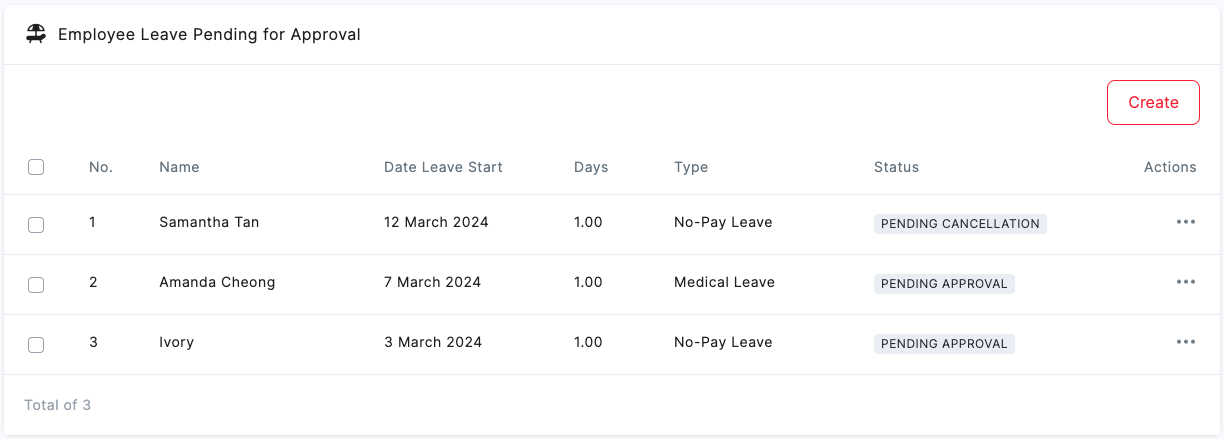
Employee Leave Pending for Approval
Lastly, if you are required to recommend or approve employees' leave, you can do so right from your homepage/dashboard.
Payslip History
Lastly, if you wish to generate employee payslip in PDF, you can do so right from your homepage/dashboard.

Basic Navigations
Now that we're familiar with the homepage/dashboard, let's explore the other navigation options.
Branch/Company
First up, is the branch/company. If you are managing multiple companies or branches, here's where you can navigate to the other companies/branches under your care.
System Admins can also create new branch/company accounts through this navigation. [Guide]
 View your profile
Rather than scrolling through your company's list of employees to locate your personal employee profile, you may instead use this navigation to navigate directly.

Settings
Last but not least is the settings navigation where you'll be able to access the following:
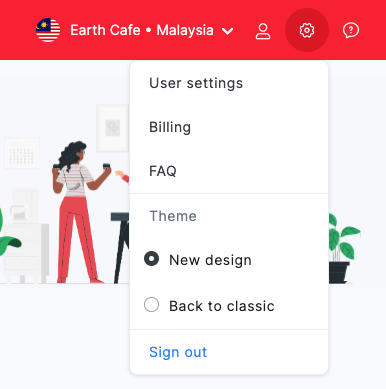
User Settings
‣ Changing Password
‣ Enable OTP (one-time password)
‣ Change Site LanguageBilling and Invoices
‣ Review current subscription plan
‣ Retrieve Invoices from HReasily
‣ Manage Credit CardsSwitch Theme
Sign Out

Key Navigations
In terms of day-to-day operations, there's really only two key navigations you'll need to familiarize yourself with. Both these navigations can be found on the left column of the screen.
Manage Company
Based on the modules you've subscribed to on HReasily, here's where you can manage all the settings on a company level. Employees will not have access to this tab unless granted permission.

Example:
The Payroll tab is where you'll be able to update your company bank details, EPF details, SOCSO, EIS, add pay items etc. No worries! we'll revisit this in Step 3 of 4 with an extended guide.
Staff Directory
Here's where you'll be managing all things staff related. This section is typically managed by an HR personnel when onboarding new employees, termination of an employee or updating an employee's promotion.

On a higher level, here's where you'll be able to:
Manage Employees (Bulk Edit & Upload)
Clone Employees‣ This allows you to clone an employee profile from a separate branch or company that you are managing.
Add Employee
Delete Employee
Generate Employee Detail Report
Through the Staff Directory tab, you can also dive deeper into an individual employee's profile to manage settings based on the modules you've subscribed with HReasily.
On top of that, you have additional option to input the following information:
Skill
Education
Document (File upload: max 5 MB)
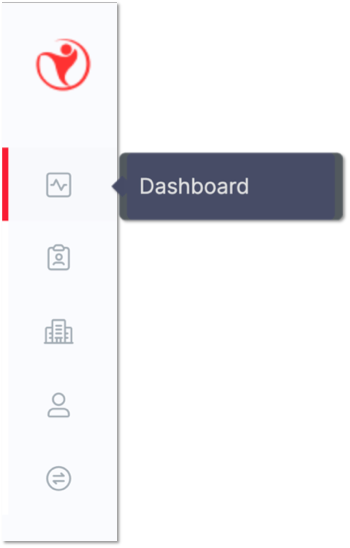
And of course, to get back to your dashboard/homepage, simply click the home icon.
Now that you've covered the basics of HReasily, it's time for us to officially kickstart our 4-steps on-boarding process. You'll be ready to run your payrolls with HReasily in no time.
Was this article helpful?
That’s Great!
Thank you for your feedback
Sorry! We couldn't be helpful
Thank you for your feedback
Feedback sent
We appreciate your effort and will try to fix the article
