This guide provides a detailed step-by-step process for generating and submitting the Monthly Tax Deduction (MTD), also known as the PCB file. Follow these instructions to easily generate and submit the file.
For more information on MTD Contributions, please refer to this guide.
Generating MTD File for Submission
1. Go to the Manage Company option from the left-hand sidebar.

2. Navigate to the Payroll tab.

3. Scroll down until you reach the MTD File section.

4. To generate the file, click Generate e-PCB File for submissions through the e-Data PCB website, or Generate Bank File for bank submissions.

If you have multiple payroll runs in the same month, you can generate a combined MTD file by selecting the Generate e-PCB File button under the Month section.

Submitting MTD (PCB) File via MyTax Portal
Ensure that you have activated your account after registration before proceeding with the submission. Once ready, follow these steps:
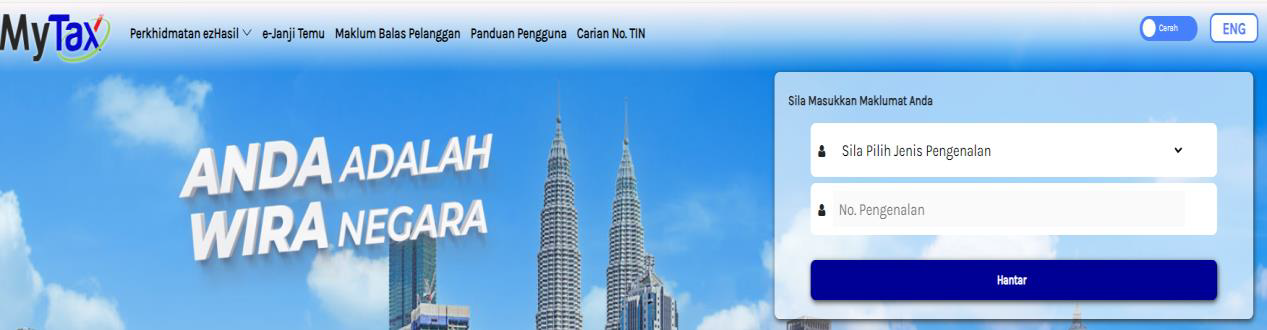
1. Access your account by logging in to the MyTax portal.
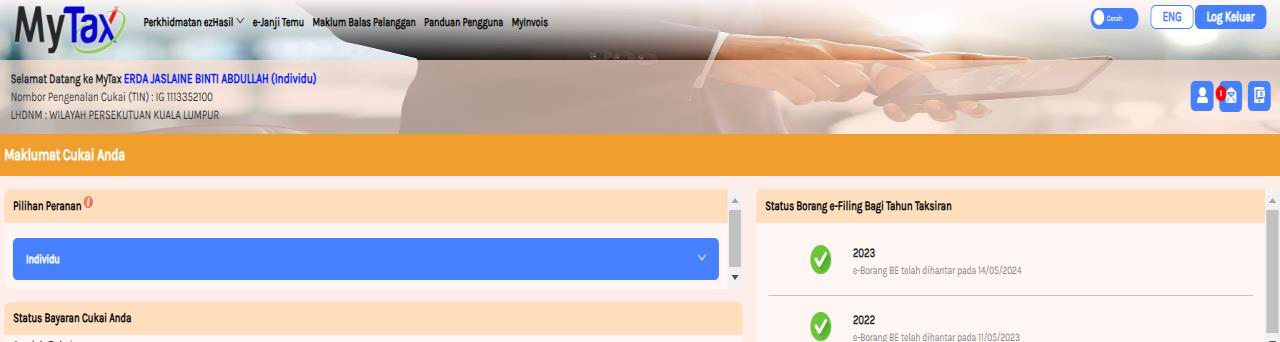
2. Under Pilih Peranan, choose the appropriate role: Majikan, Wakil Majikan or Individu (Pentadbir PCB). After selecting your role, click the employer’s name and navigate to Perkhidmatan ezHasil > e-PCB Plus.

3. In the e-PCB Plus dashboard, click Perkhidmatan > e-Data PCB > Muat Naik Data, Semak dan Bayar.

4. Choose the file type as .txt and click on Muat Naik/Semak Fail to upload.
Note: If your file exceeds 2MB, you'll need to compress it into a zip file before uploading.
5. After uploading the file, the file's status will be will be displayed under Keputusan. To review the file details, click on the document icon under Tindakan.
Here is a detailed breakdown of the status:

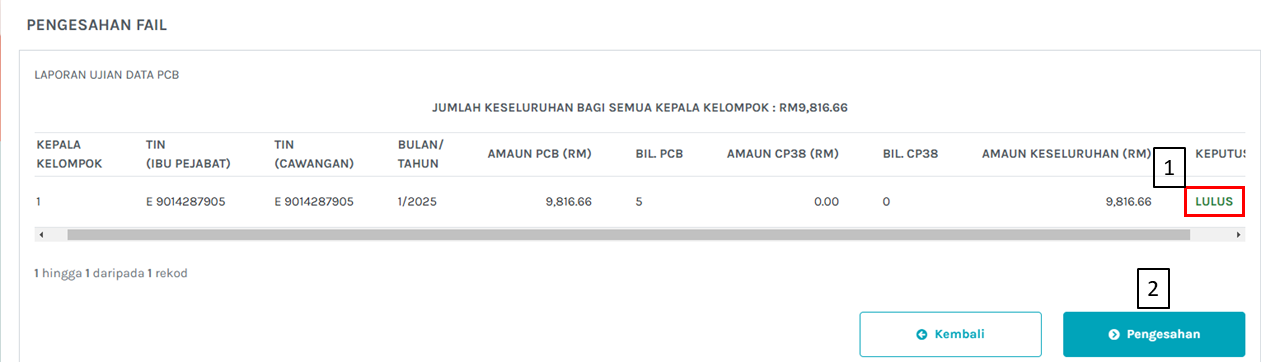
6. Once the status shows LULUS, click the icon under Tindakan to access the file's verification page.


7. Click on the status of the file to navigate to the Laporan Ujian Data PCB page. Here, you can proceed by clicking the Pengesahan button to continue to the Kemaskini Maklumat Instrumen dan Penghantaran Data page.
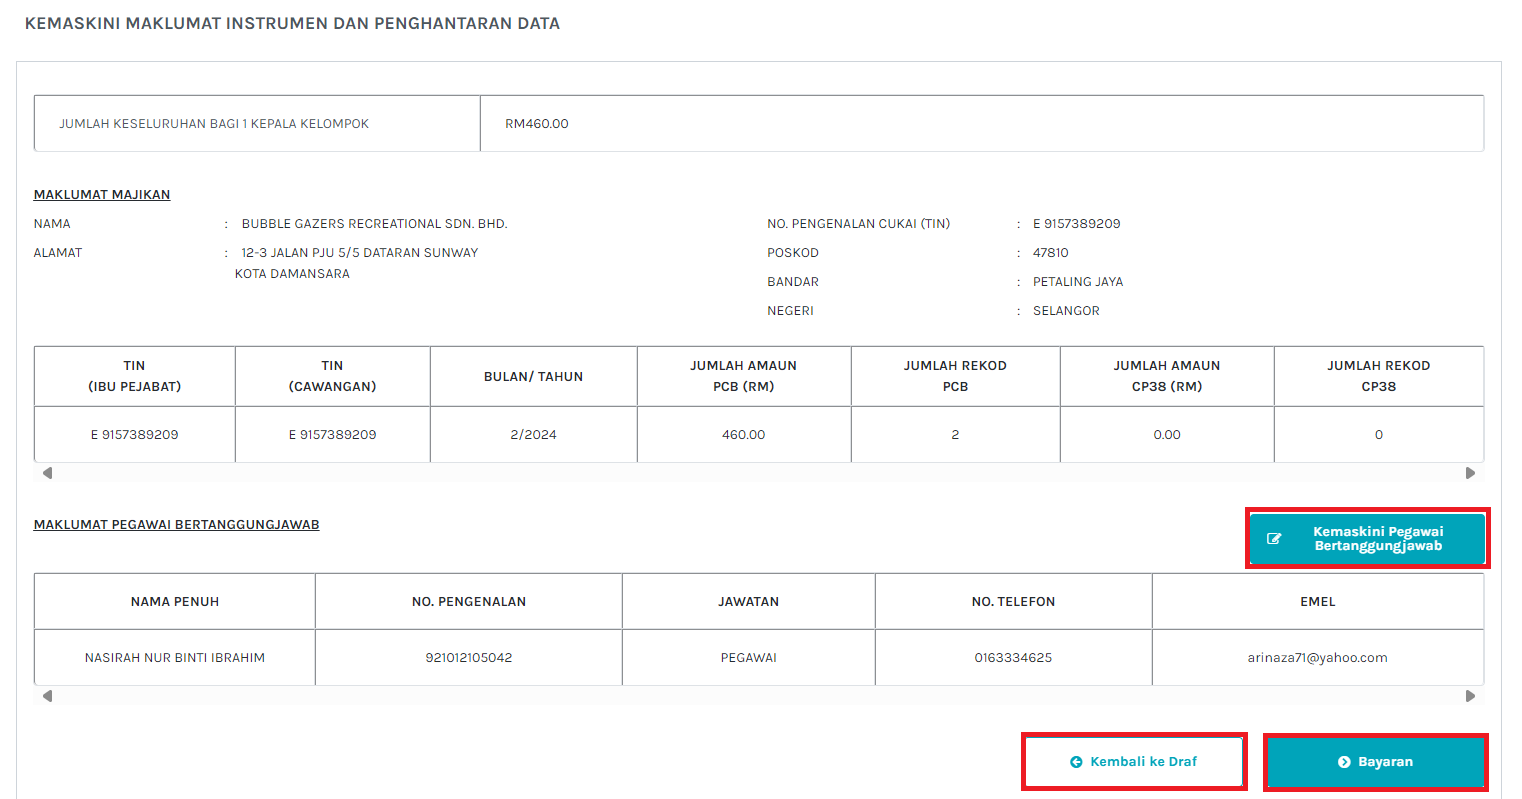
9. Fill in all required payment information and review the payment details before continuing.
10. Complete the Instrument Type and Instrument Date information. Click Simpan Maklumat Bayaran to save the payment. Then, click Seterusnya to generate the PCB Slip for e-Data PCB.
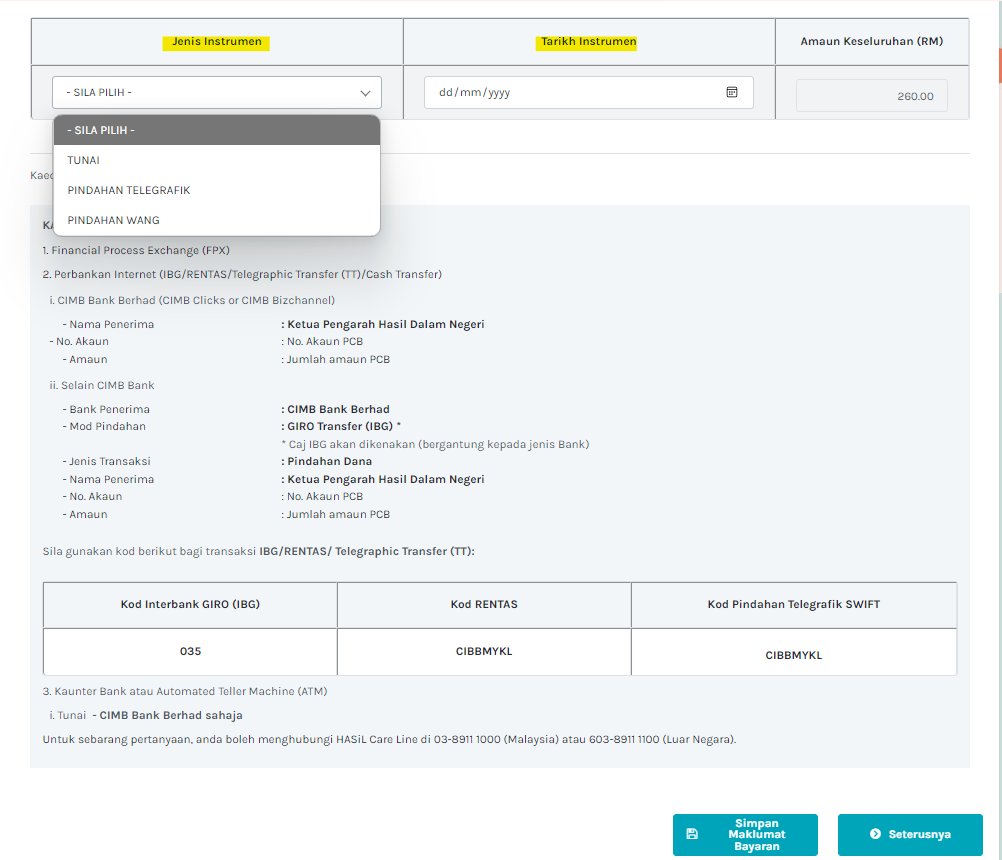
Note: The generated slip must be taken to the bank for payment processing.
11. Click Cetak to print the payment slip for e-Data PCB when making a payment at the bank or click the QR Code to make a payment.
12. If you're paying via FPX, click the FPX button to proceed with the online payment.
13. After completing the payment, click Cetak to generate a copy of the payment slip.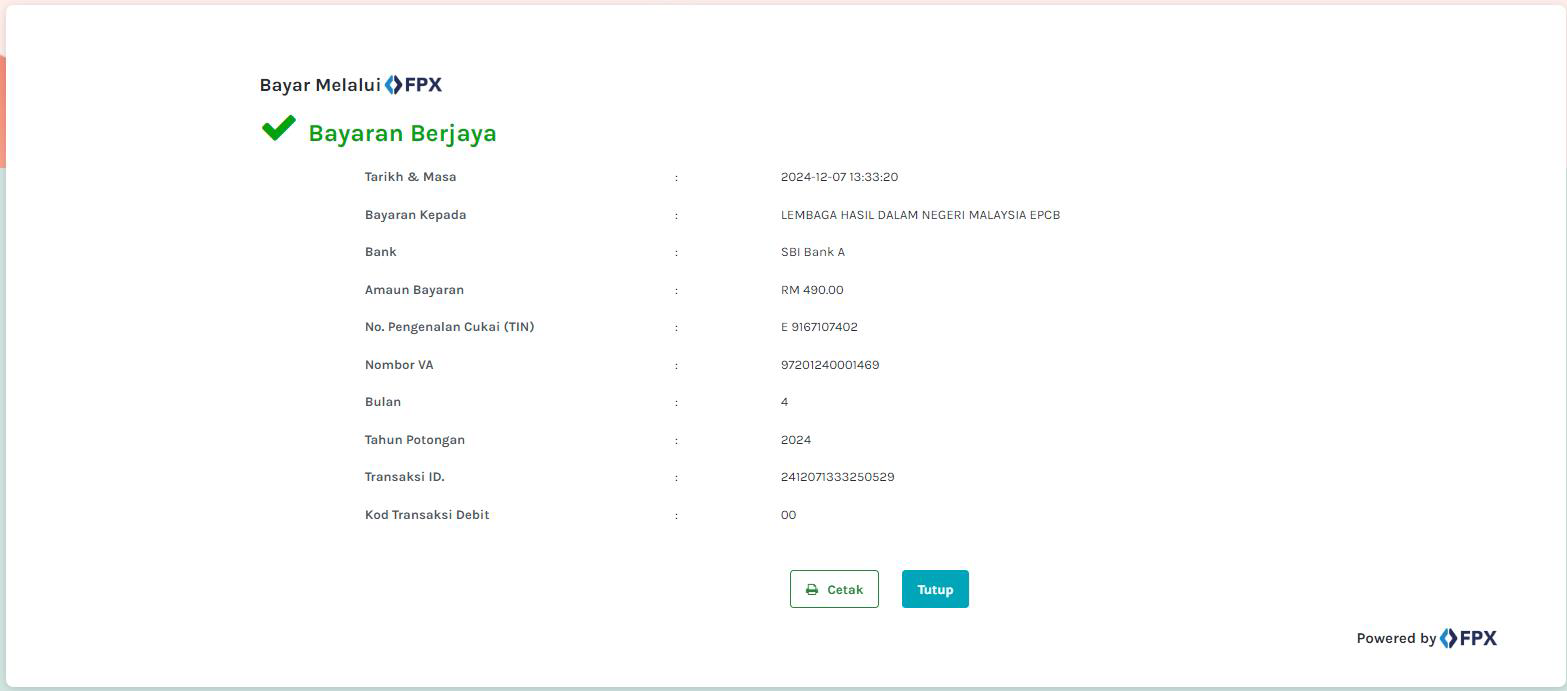
For additional details, please refer to the attachment below.
Was this article helpful?
That’s Great!
Thank you for your feedback
Sorry! We couldn't be helpful
Thank you for your feedback
Feedback sent
We appreciate your effort and will try to fix the article